
Wedding Photo Editing Tips 2026: 72% UK Couples Choose Natural
- Jesús Magan
- Mar 2
- 11 min read


Most UK couples aren’t looking for heavily filtered wedding photos. Recent data shows 72% prefer natural, light editing that preserves authenticity. This guide walks you through practical editing techniques, tools, and workflows to enhance your wedding photos without losing their emotional truth. You’ll learn how to choose the right approach, avoid common mistakes, and create beautiful images that feel genuine.
Table of Contents
Key Takeaways
Point | Details |
Natural editing dominates UK preferences | 72% of UK couples favour light, authentic editing over heavy filters |
Core corrections deliver major impact | White balance and exposure adjustments can improve quality by 40% |
Software choice matters for workflow | Lightroom offers usability; Capture One provides 15% better colour accuracy |
Structured workflow saves time | Following a step-by-step process reduces editing time by 25% |
Avoid common pitfalls | Over-saturation and excessive sharpening destroy natural skin tones and emotion |
How to Choose the Right Photo Editing Approach for Your Wedding Photos
Your wedding style and venue lighting should guide your editing decisions. Editing style preference impacts photo authenticity significantly, so matching your approach to your vision matters. Think about what you value most: preserving candid moments or achieving a polished magazine look.
Consider these criteria when selecting your editing method:
Wedding theme alignment: Rustic barn weddings suit warmer, earthy tones whilst modern venues benefit from cooler, crisp edits
Software usability vs output: Beginner-friendly tools like Lightroom Mobile deliver solid results; professional software requires more skill but offers finer control
Lighting conditions: Outdoor summer weddings need minimal correction; indoor winter receptions require stronger shadow recovery
Time investment: DIY editing takes 3-5 hours for 50 photos; professionals complete the same batch in 90 minutes
Authenticity priority: Natural posing in photos pairs best with subtle editing that maintains true colours
Pro Tip: Review your photographer’s raw files before choosing editing software. Some cameras produce warmer or cooler tones that specific programs handle better.
Understanding why wedding photography matters helps you prioritize authenticity over trends. Your editing approach should enhance storytelling, not obscure it. Balance professional quality with emotional truth by testing different styles on 5-10 sample images before committing to a full workflow.
Popular Wedding Photo Editing Styles in the UK
UK couples overwhelmingly favour editing that looks invisible. The data confirms 72% prefer natural and light editing that preserves candid moments. This approach enhances photos without creating an obvious “edited” appearance.
Natural editing focuses on these principles:
Skin tone accuracy: Keep complexions true to life without artificial smoothing or orange casts
Emotional preservation: Subtle enhancements that don’t flatten facial expressions or dim sparkle in eyes
Minimal colour grading: Gentle adjustments that complement venue lighting rather than transforming it
Texture retention: Maintain fabric details, florals, and environmental elements without over-sharpening
“The best editing makes you feel the moment again, not notice the editing itself. When couples can’t tell what’s been adjusted, we’ve succeeded.” — UK Wedding Photography Association
Heavy filters and dramatic colour shifts work against this philosophy. They create a dated look that ages poorly compared to timeless natural edits. Creative wedding editing explores artistic techniques within natural boundaries, using light and composition rather than artificial effects.
Editorial wedding style represents a middle ground between pure documentary and heavily stylized fashion photography. This approach uses controlled colour grading whilst maintaining authentic skin tones and emotions. It works particularly well for formal portraits and detail shots.
Avoid these common style mistakes:
Over-saturated colours that make flowers look artificial and skin tones unnatural
Heavy vignetting that draws attention away from subjects
Extreme contrast that loses shadow and highlight detail
Trendy filters that date photos within 2-3 years
Your editing style should feel cohesive across your entire wedding gallery. Consistency matters more than individual standout images.
Essential Editing Tools and Software for Wedding Photos
Choosing the right software shapes your entire editing experience. Professional photographers and DIY enthusiasts need different features, but both benefit from tools designed specifically for wedding photography workflows.
Software | Best For | Strengths | Limitations |
Adobe Lightroom | Beginners to intermediates | Intuitive interface, mobile sync, extensive presets | Less precise colour control than Capture One |
Capture One Pro | Advanced users and professionals | 15% better colour accuracy, tethered shooting, advanced masking | Steeper learning curve, higher cost |
Lightroom Mobile | On-the-go editing | Accessible anywhere, one-tap presets, cloud storage | Limited advanced features, smaller workspace |
Snapseed | Casual editing | Completely free, powerful selective adjustments, user-friendly | No batch processing, fewer professional tools |
Adobe Lightroom dominates wedding editing for good reason. Its preset system lets you apply consistent looks across hundreds of photos in minutes. The mobile app syncs with desktop, so you can start edits on your phone during the commute and finish at home. Wedding-specific presets from creators cost £15-40 and deliver professional results immediately.

Capture One Pro offers superior colour accuracy that professionals notice. Its layer-based editing provides finer control over selective adjustments. The software excels at skin tone rendering and handles high ISO files better than competitors. However, investing in professional tools only makes sense if you’ll use advanced features regularly.
Pro Tip: Download free trial versions and edit the same 10 wedding photos in each program. Compare results side-by-side to see which software matches your vision.
Mobile apps serve different purposes:
Quick edits for social media sharing
Learning basic adjustments before investing in desktop software
Emergency corrections when away from your computer
Previewing editing ideas on actual wedding day photos
Presets accelerate workflow whilst maintaining consistency. Look for wedding preset packs that include variations for different lighting conditions. Quality presets require only minor tweaks per image rather than building edits from scratch. This workflow efficiency becomes crucial when processing 300-500 wedding photos.
Your budget and skill level should drive software choices. Beginners gain more from Lightroom’s tutorials and community than Capture One’s advanced features they won’t use.
Techniques for Correcting Lighting, Colour, and Exposure
Lighting challenges affect every wedding, from dim church interiors to harsh midday sun. Strategic corrections rescue problem images whilst maintaining natural appearance. Research shows white balance and exposure correction improve quality by 40%.
Follow this correction sequence:
White balance first: Neutralize colour casts by sampling a grey or white element in the frame. Church interiors often skew yellow; overcast outdoor shots lean blue. Correcting this foundation prevents cascading colour problems.
Exposure adjustment: Recover underexposed shadows without blowing out highlights. Wedding dresses challenge this balance. Aim for detail retention in both bright whites and dark suit fabrics.
Highlight and shadow refinement: Use selective adjustments to brighten faces in shadow or tone down bright windows. Pull highlights down by 20-30 points; lift shadows by 30-40 points as starting values.
Contrast fine-tuning: Add subtle contrast to prevent flat images, but stop before losing the soft, romantic feel. A contrast boost of +10 to +15 usually suffices.
Colour temperature tweaking: Warm indoor receptions by 200-400K for cozy atmosphere; cool outdoor shots by 100-200K for crisp, fresh feeling.
Pro Tip: Create virtual copies of challenging images and try three different exposure approaches. Compare them at 100% zoom to see which preserves the most detail.
Selective editing targets specific problem areas. Use radial or gradient filters to:
Brighten faces in group shots where some guests are backlit
Darken distracting bright backgrounds that pull attention from subjects
Enhance sky detail in outdoor ceremony photos
Add light to the dance floor without affecting properly exposed areas
Avoid these correction mistakes:
Pushing shadows so hard that noise becomes visible
Pulling highlights down until clouds look grey and lifeless
Adding warmth that turns skin orange
Creating unnatural colour shifts between adjacent areas
The wedding detail photography workflow applies these same principles to rings, bouquets, and décor shots. Consistency across all image types creates a cohesive gallery.
Batch processing speeds up corrections. Once you dial in settings for one photo from a sequence shot in identical lighting, copy those adjustments to the entire batch. This reduces editing time by 25% compared to individual image processing.
Step-by-Step Editing Workflow for Beginners and Enthusiasts
A structured workflow prevents decision fatigue and ensures consistent results across your wedding gallery. Professional editors follow the same sequence for every image, making adjustments systematically rather than randomly.
Import and organize: Create folders by ceremony, portraits, reception. Rate images with stars: 5 stars for definite keepers, 1 star for maybes. This culling step happens before any editing begins.
Correct exposure and white balance: Start with the most challenging images first. Once you solve tricky lighting situations, easier photos take seconds. Adjust exposure until histogram shows data across the full tonal range without clipping.
Adjust colour balance and tone: Fine-tune temperature and tint for pleasing skin tones. Check multiple skin tones in the frame; they should all look natural simultaneously. Add or reduce vibrance by 5-15 points.
Apply presets or consistent style: Load your chosen preset or manually apply your standard adjustments. This creates the foundation look you’ll refine individually. Presets should get you 80% of the way to finished.
Selective enhancements: Use local adjustments for problem areas: brighten shadowed faces, tone down bright windows, enhance eyes. Spend the most time here perfecting each image.
Final polish: Add subtle sharpening (amount 40-60, radius 1.0, detail 25). Check for dust spots or distractions. Crop for composition if needed. Review at 100% zoom for technical issues.
Export with correct settings: JPEG quality 90-95%, sRGB colour space, appropriate resolution. Name files systematically for easy client delivery.
This workflow efficiency transfers across photography and videography projects. The systematic approach reduces editing time from 5-6 hours to 3-4 hours for a typical 50-image selection.
Work in batches by lighting condition. Edit all outdoor ceremony photos together, then move to indoor reception shots. Your eyes adjust to the colour temperature and exposure patterns, making decisions faster and more consistent. Take breaks every 45-60 minutes to reset your colour perception.
Common Mistakes in Wedding Photo Editing and How to Avoid Them
Even well-intentioned editing can ruin beautiful wedding photos. These frequent errors compromise image quality and emotional impact, but they’re completely preventable with awareness.
Over-saturation ranks as the most common mistake. Pushing vibrance and saturation sliders too far creates unnatural skin tones, particularly in hands and faces. Complexions turn orange or magenta. Florals look artificial. Venue colours become garish rather than rich. Keep saturation adjustments under +15 and vibrance under +20.
Excessive sharpening produces harsh, artificial textures. Wedding photos should feel soft and romantic, not crispy and over-processed. Sharpening reveals every pore, wrinkle, and fabric thread. Apply sharpening at 40-50 strength maximum, and use masking to target only areas that benefit.
Ignoring white balance early creates cascading colour problems. Every subsequent adjustment fights against the incorrect colour foundation. Fix white balance first, before touching any other slider. Sample a neutral grey or white element in the frame for accurate results.
Heavy-handed colour grading destroys authenticity. That trendy teal-and-orange look might seem appealing now, but it dates photos quickly. Extreme colour shifts also make skin tones look unnatural. Creative editing practices enhance rather than transform the original colours captured.
Avoid these specific pitfalls:
Smoothing skin texture completely: Maintains some natural texture; complete smoothing looks plastic
Crushing blacks excessively: Lose detail in suits, dark décor, and shadow areas
Boosting clarity too high: Creates haloing around edges and unnatural midtone contrast
Inconsistent editing across gallery: Some images warm, others cool; some saturated, others muted
Noise reduction requires balance. Wedding receptions often need higher ISOs that introduce grain. Remove enough noise to clean the image without smearing fine details. Keep luminance noise reduction around 30-40 and colour noise reduction at 50-60.
Vignetting should be barely noticeable. Heavy dark edges draw attention to the effect rather than the subject. If you add vignetting, keep it under -15 and feather it wide.
The biggest mistake? Forgetting that editing should serve the emotion, not showcase your technical skills. Every adjustment should enhance the storytelling and preserve the authentic moment.
Situational Recommendations: Choosing the Best Editing Approach for Your Wedding
Your specific wedding conditions determine which editing approach delivers optimal results. Different venues, lighting situations, and technical skill levels require tailored strategies.
Outdoor natural light weddings: These conditions need minimal intervention. Focus on slight exposure tweaks and white balance correction. The natural light already provides beautiful, even illumination. Avoid adding artificial warmth; let the golden hour speak for itself. Mobile apps like Snapseed handle these straightforward edits perfectly.
Indoor and low-light weddings: Professional software with robust shadow recovery becomes essential. Church ceremonies and evening receptions challenge camera sensors. You’ll need strong noise reduction, selective brightening, and careful highlight management. Capture One excels here with superior colour accuracy in mixed lighting.
DIY editing for tech-savvy couples: Lightroom Mobile or Snapseed provides enough power without overwhelming complexity. Download wedding presets as starting points. Spend 2-3 hours learning the interface before your wedding photos arrive. Watch specific tutorials for common wedding scenarios.
Budget-conscious approach: Mix strategies by editing 80% yourself and hiring professional editors for the 20% most important images. This hybrid method costs £100-200 versus £500+ for full professional editing whilst ensuring your best photos receive expert treatment.
Wedding Condition | Recommended Software | Editing Intensity | Time Investment |
Outdoor summer daytime | Lightroom Mobile/Snapseed | Light (10-15 mins per image) | Low |
Indoor church ceremony | Lightroom/Capture One | Moderate to heavy (20-30 mins per image) | Medium to high |
Evening reception | Capture One Pro | Heavy (25-35 mins per image) | High |
Mixed lighting conditions | Adobe Lightroom | Moderate (15-20 mins per image) | Medium |
Skill level considerations:
Complete beginners: Start with preset packs and one-tap adjustments in mobile apps
Intermediate users: Learn Lightroom’s core tools through targeted tutorials for weddings specifically
Advanced enthusiasts: Explore Capture One’s layers and advanced colour grading for professional results
Your expectations matter as much as technical capability. If you want professional-magazine quality, invest in professional software and dedicate serious learning time. If you simply want photos that look better than unedited originals, mobile apps deliver satisfying improvements quickly.
Match your editing intensity to your image use. Photos for Instagram need less perfection than prints for your wall. Quick edits suffice for social sharing; invest more time in images you’ll frame or include in albums.
Enhance Your Wedding Memories with Expert Photography Services
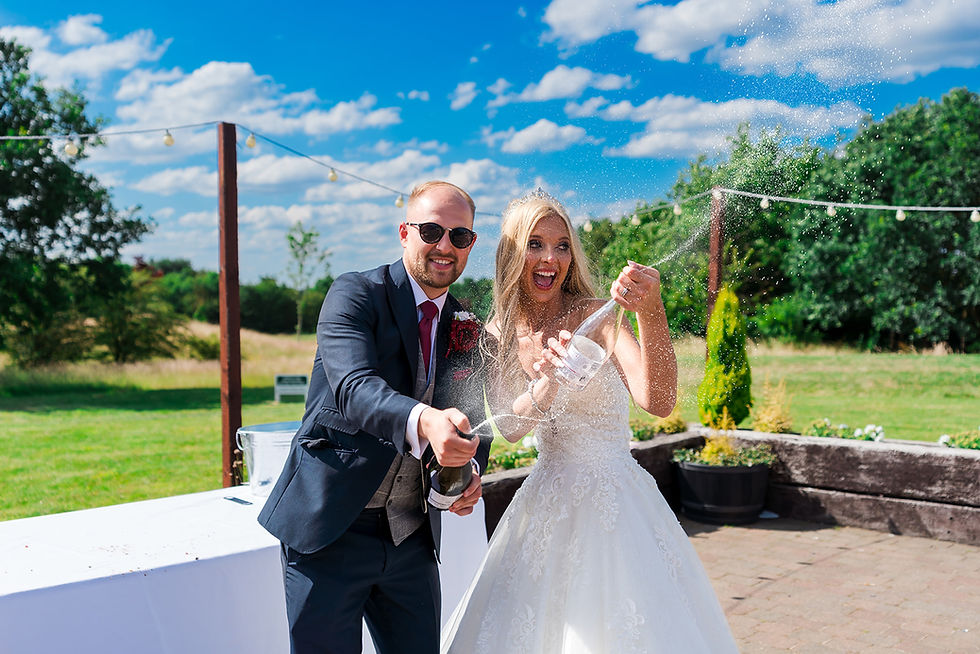
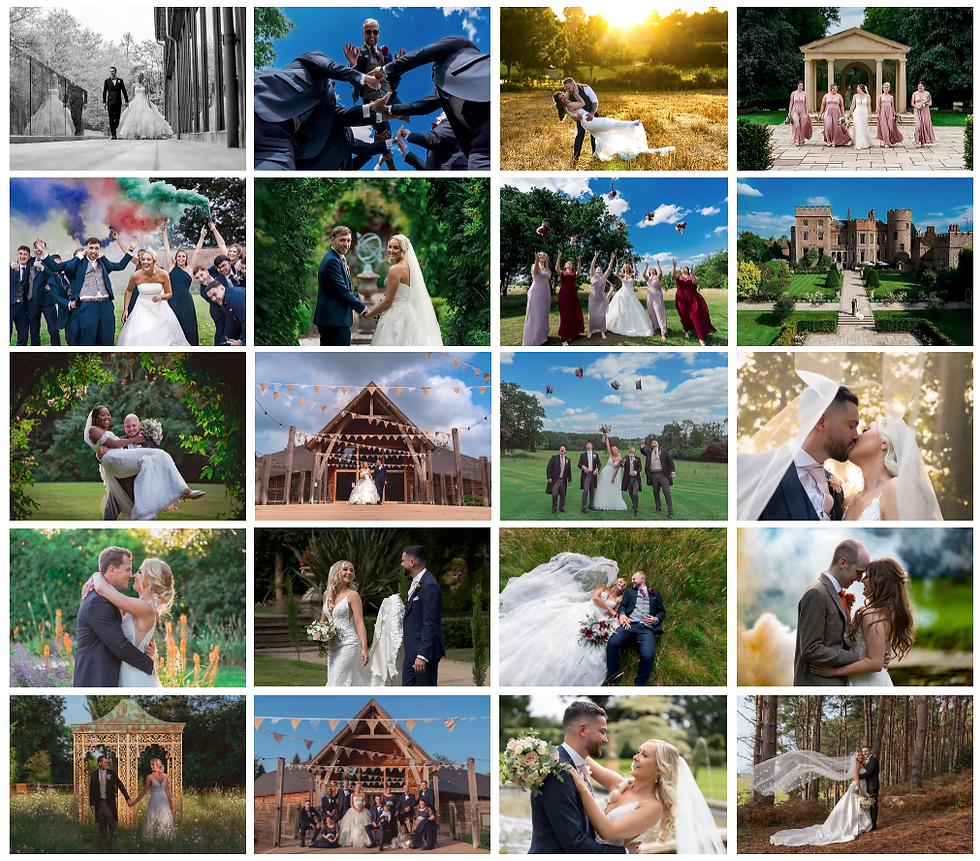
Whilst learning editing techniques helps you understand what’s possible, professional photography captures moments that editing alone cannot fix. Our award-winning team combines documentary-style coverage with natural, unobtrusive techniques that create authentic images requiring minimal post-processing.
We specialize in capturing candid, emotional moments across Derbyshire, Staffordshire, and Worcestershire venues. Our editing philosophy aligns with the natural, light-touch approach preferred by 72% of UK couples. We enhance your photos whilst preserving genuine skin tones, authentic emotions, and the true atmosphere of your day. Every package includes professionally edited images delivered within four weeks, allowing you to relive your wedding memories without the editing learning curve. Contact us to discuss how our tailored photography packages complement your wedding vision.
Frequently Asked Questions about Wedding Photo Editing
How can I make my wedding photos look natural after editing?
Focus on minimal adjustments to exposure and white balance rather than dramatic transformations. Avoid over-saturation and harsh filters that create obvious editing signatures. Use presets designed specifically for natural wedding tones, and keep skin tone accuracy as your primary guide.
What are the best apps for DIY wedding photo editing?
Adobe Lightroom Mobile and Snapseed lead for DIY editing due to their balance of power and usability. Both offer essential tools like exposure correction, white balance, and selective adjustments. Free tutorials help beginners master these apps quickly, and wedding-specific presets accelerate your workflow.
How much editing is too much for wedding photos?
Excessive editing shows itself through unnatural skin tones, over-saturated colours, and visible halos around subjects. If you notice the editing before the emotion in the photo, you’ve gone too far. Prioritize authenticity over trend-driven looks that date quickly.
Should I hire a professional editor for my wedding photos?
Professional editing suits complex lighting situations, high-quality print requirements, or when you lack time to learn software properly. DIY editing works for straightforward lighting conditions and budget constraints. A hybrid approach editing most photos yourself whilst hiring professionals for key images offers good value.
How do I fix poorly lit wedding photos?
Adjust white balance first to neutralize colour casts from mixed lighting sources. Correct exposure by recovering shadow detail without blowing out highlights in the dress or bright areas. Use selective editing tools to brighten specific faces or areas whilst leaving properly exposed sections untouched.
Recommended
Comments